Installing a central vacuum system in your home can significantly enhance your cleaning routine with powerful suction and improved indoor air quality. While professional installation is recommended for the best results, a seasoned DIY enthusiast can handle the task with the right tools and preparation. Here’s a step-by-step guide to installing Central Vacuums.
Step 1: Plan the Layout
1. Determine the Location of the Power Unit
- Choose a location for the central power unit (motor and dust canister) in a remote area like a garage, basement, or utility room. Ensure the area has proper ventilation and access to an electrical outlet.
2. Plan the Tubing Route
- Sketch a layout of your home and mark the locations for inlet valves. Plan the most efficient route for the PVC tubing to connect these inlets to the power unit. Consider the walls, attic, basement, or crawl spaces for running the tubing.
Step 2: Gather Materials and Tools
Materials:
- Central vacuum power unit
- PVC tubing (2-inch diameter)
- Inlet valves
- PVC fittings (elbows, tees, couplings)
- Low-voltage wiring
- PVC cement
- Mounting brackets
Tools:
- Drill with hole saw attachment
- PVC pipe cutter or hacksaw
- Tape measure
- Screwdriver
- Wire stripper
- Stud finder
- Utility knife
Step 3: Install the Power Unit
1. Mount the Power Unit
- Secure the power unit to the wall using the provided mounting brackets. Ensure it is positioned at a height that allows easy access to the dust canister or bag.
2. Connect the Exhaust
- If your power unit requires venting to the outside, install the exhaust duct through an exterior wall and connect it to the power unit.
Step 4: Install the Inlet Valves
1. Locate and Cut Holes for Inlet Valves
- Use a stud finder to locate wall studs and ensure the inlet valves are positioned between them. Drill holes for the inlet valve backing plates at the marked locations.
2. Run the PVC Tubing
- Cut the PVC tubing to the required lengths and connect them using PVC fittings. Apply PVC cement to secure the joints. Route the tubing from each inlet valve location to the central power unit.
3. Install Inlet Valves
- Attach the low-voltage wiring to the inlet valves and mount them to the backing plates. Connect the other end of the wiring to the central power unit.
Step 5: Connect the Low-Voltage Wiring
1. Run the Wiring
- Run the low-voltage wiring alongside the PVC tubing, connecting each inlet valve to the power unit. This wiring allows the vacuum system to be turned on and off from any inlet.
2. Make Electrical Connections
- Strip the wire ends and connect them to the terminals on the inlet valves and the power unit according to the manufacturer’s instructions.
Step 6: Test the System
1. Check for Leaks
- Before sealing the wall openings, check the entire system for air leaks. Turn on the power unit and block the inlet valves one by one to ensure proper suction.
2. Test Each Inlet Valve
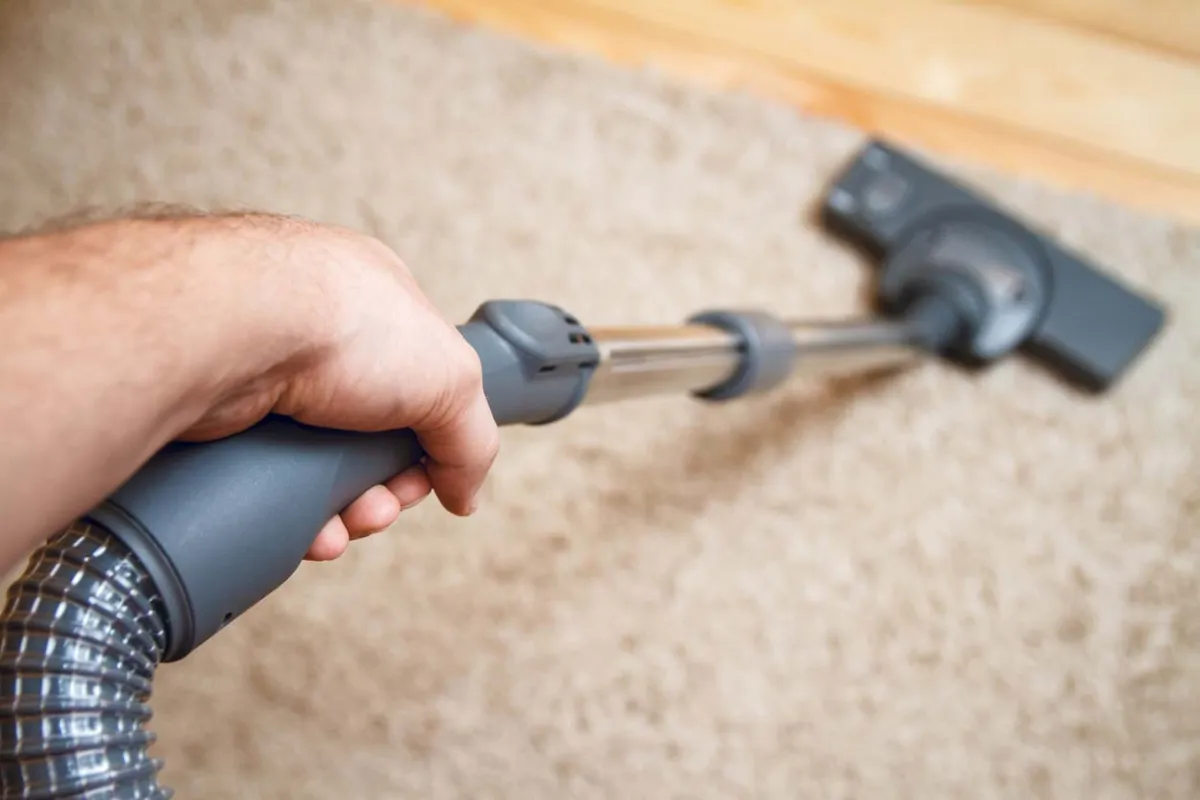
- Plug the hose into each inlet valve and test the system’s operation. Ensure that the vacuum turns on and off correctly and that there is consistent suction at each inlet.
Step 7: Finalize the Installation
1. Seal the Wall Openings
- Once the system is tested and confirmed to be leak-free, seal any wall openings around the inlet valves using wall plates or covers.
2. Clean Up and Organize
- Clean up any debris from the installation process and organize the tools and materials. Ensure the central power unit area is tidy and accessible.
By following this step-by-step guide, you can successfully install a central vacuum system in your home. This investment will provide you with a powerful, convenient, and efficient cleaning solution for years to come.